
1: Creating the app
1.1: Install Meteor
First we need to install Meteor.
Install the latest official Meteor release following the steps in our docs.
1.2: Create Meteor Project
The easiest way to setup Meteor with Vue is by using the command meteor create with the option --vue-2 and your project name:
Side note: Since meteorJS version 2.9 the default –vue will create a vue3 app, in order to follow this tutorial, use the vue2 command:
--vue-2
meteor create --vue-2 simple-todos-vue --prototype
Meteor will create all the necessary files for you.
The files located in the client directory are setting up your client side (web), you can see for example client/main.jsx where Meteor is rendering your App main component into the HTML.
Also, check the server directory where Meteor is setting up the server side (Node.js), you can see the server/main.js is initializing your MongoDB database with some data. You don’t need to install MongoDB as Meteor provides an embedded version of it ready for you to use.
You can now run your Meteor app using:
meteor run
Don’t worry, Meteor will keep your app in sync with all your changes from now on.
Your Vue code will be located inside the imports/ui directory, and App.vue file is the root component of your Vue To-do app.
Take a quick look in all the files created by Meteor, you don’t need to understand them now, but it’s good to know where they are.
1.3: Create Task Component
You will make your first change now. Create a new file called Task.vue in your ui/components folder.
This file will export a Vue component called Task that will represent one task in your To-Do list.
imports/ui/components/Task.vue
<template>
  <li>{{ this.task.text }}</li>
</template>

<script>
  export default {
      props: ["task"],
      data() {
          return {};
      }
};
</script>
As this component will be inside a list you are returning a li element.
1.4: Create Sample Tasks
As you are not connecting to your server and your database yet let’s define some sample data which will be used shortly to render a list of tasks. It will be an array, and you can call it tasks.
imports/ui/App.vue
<script>
  import Vue from "vue";
  import Task from "./components/Task.vue";

  export default {
      components: {
        Task
      },
      data() {
          return {};
      },
      methods: {
      getTasks() {
      return [
        { _id: 1, text: "This is task 1" },
        { _id: 2, text: "This is task 2" },
        { _id: 3, text: "This is task 3" }
      ];
    }
  }
};
</script>
You can put anything as your text property on each task. Be creative!
1.5: Render Sample Tasks
Now we can implement some simple rendering logic with Vue. We can now use our previous Task component to render our list items.
See below how we change the template part of the App component to add a
imports/ui/App.vue
<template>
  <div class="container">
    <header>
      <h1>Todo List</h1>
    </header>
    <ul>
      <Task
        v-for="task in getTasks()"
        v-bind:key="task._id"
        v-bind:task="task"
      />
    </ul>
  </div>
</template>
You can read more about Vue iterations here.
With this override you have removed the Hello and Info from your App component. Remove the Hello.vue and Info.vue files as well.
1.6 Mobile look
Let’s see how your app is looking on Mobile. You can simulate a mobile environment right clicking your app in the browser (we are assuming you are using Google Chrome as it is the most popular browser today) and then inspect, this will open a new window inside your browser called Dev Tools. In the Dev Tools you have a small icon showing a Mobile device and a Tablet, see where this icon is:
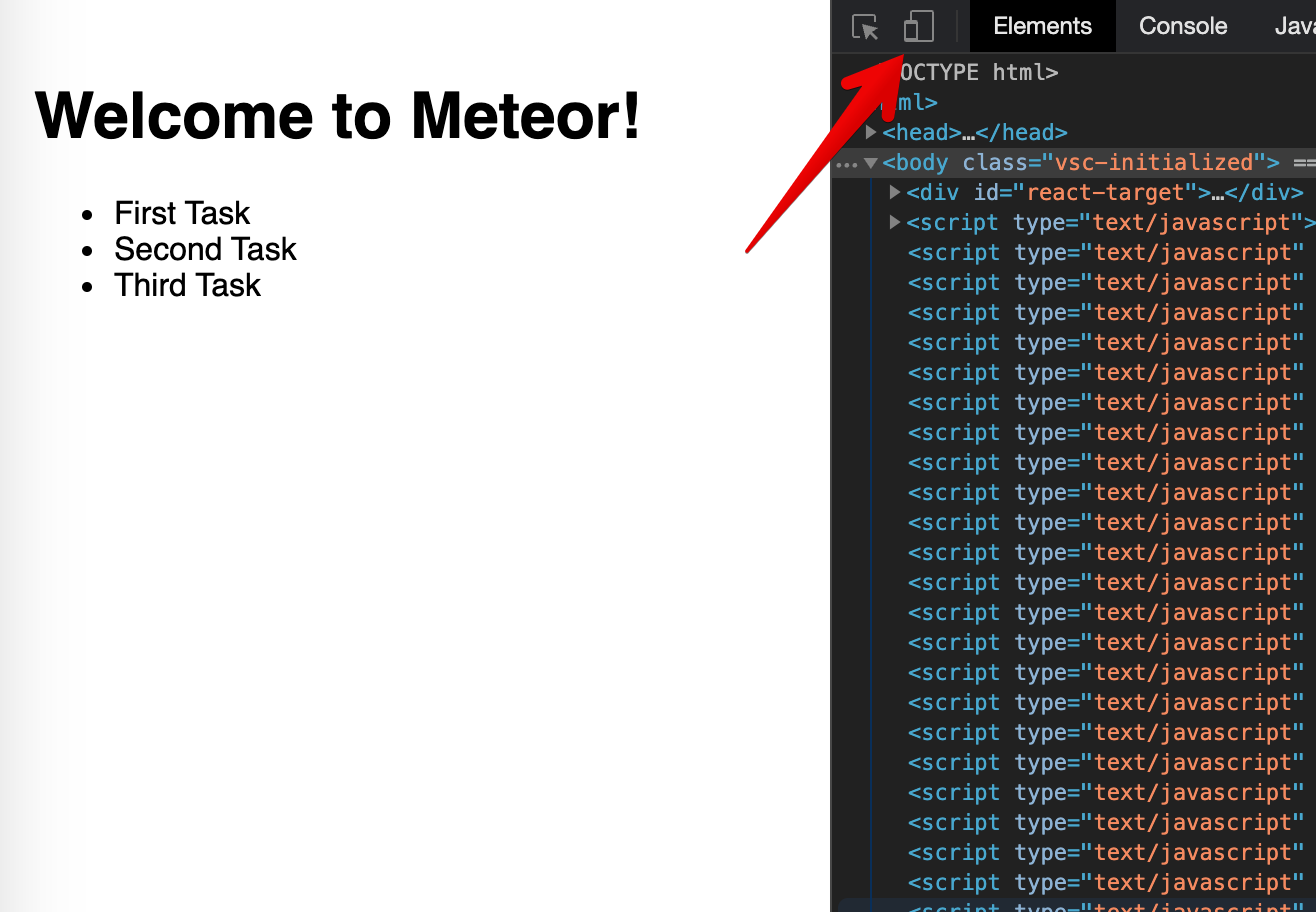
Click on it and then select the phone that you want to simulate and in the top bar.
You can also check your app in your cellphone, you can connect to your App using your local IP in the navigation browser of your mobile browser.
This command should print your local IP for you on Unix systems at least
ifconfig | grep "inet " | grep -Fv 127.0.0.1 | awk '{print $2}'
You are going to see something like this:
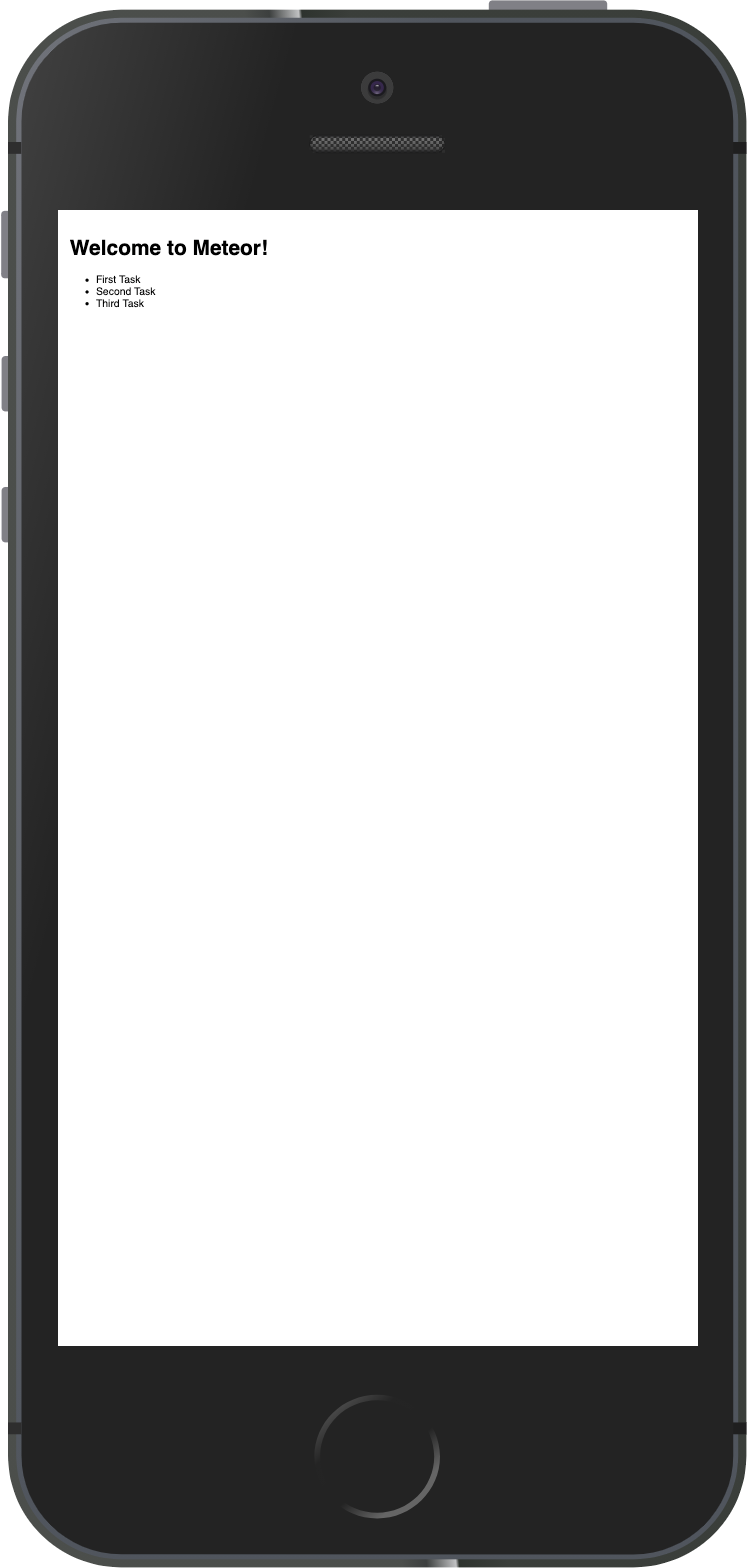
As you can see everything is small, that is because we are not adjusting the view port for mobile devices, you can fix this and other similar issues by adding these lines to your client/main.html file, inside the head tag, after the title.
client/main.html
  <meta charset="utf-8"/>
  <meta http-equiv="x-ua-compatible" content="ie=edge"/>
  <meta
      name="viewport"
      content="width=device-width, height=device-height, viewport-fit=cover, initial-scale=1, maximum-scale=1, minimum-scale=1, user-scalable=no"
  />
  <meta name="mobile-web-app-capable" content="yes"/>
  <meta name="apple-mobile-web-app-capable" content="yes"/>
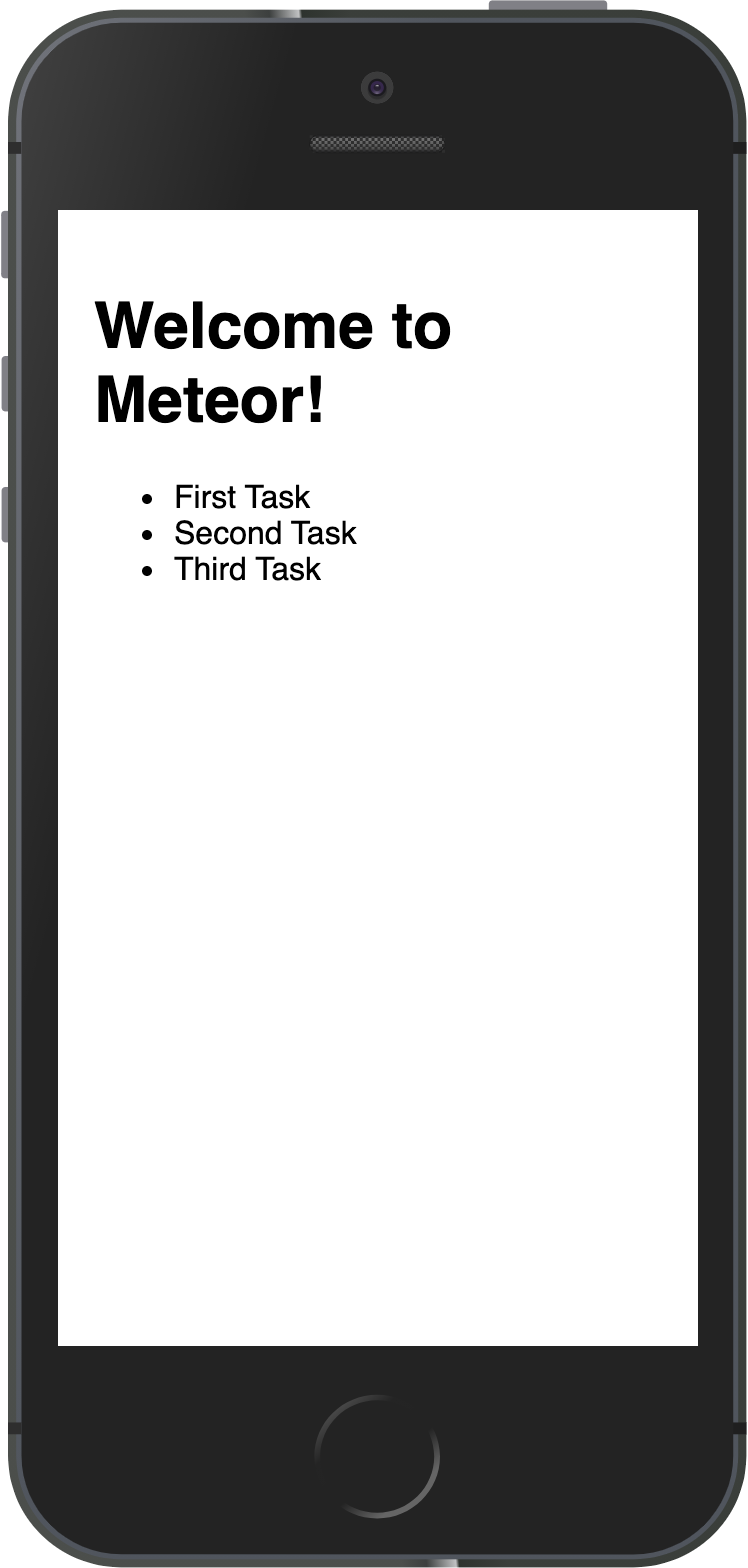
Now your app should look like this:
Review: you can check how your code should be in the end of this step here
In the next step we are going to work with MongoDB database to store our tasks.