
3: Forms and Events
All apps need to allow the user to perform some types of interaction with the data that is stored. In our case, the first type of interaction is to insert new tasks, or our app would not have much value, would it?
One of the main ways in which a user can insert or edit data in a website is through forms, in most cases it is a good idea to use the <form> tag since it gives semantic meaning to the elements inside it.
3.1: Create Task Form
First we need to create a simple form component to encapsulate our logic.
Create a new file TaskForm.vue in your ui folder.
imports/ui/TaskForm.vue
<template>
  <form className="new-task" @submit.prevent="handleSubmit">
    <input
      type="text"
      placeholder="Type to add new tasks"
      v-model="newTask"
    />
    <button type="submit">Add Task</button>
  </form>
</template>

<script>
  import Vue from "vue";
  import { TasksCollection } from "../../api/TasksCollection";

  export default {
    data() {
      return {
        newTask: ""
      }
    },
    methods: {
      handleSubmit(event) {}
    },
}
</script>
This form will have an input element added to it that has a v-model attribute. The newTask data field will now be bound via two-way binding to the input element’s value.
You can also see that the form element has a @submit.prevent attribute that references a method called handleSubmit that we will later be defined in the component’s methods object. In Vue, this is how you listen to browser events, like the submit event on the form.
In the component’s methods we have handleSubmit to handle the form’s input, we’ll come back to it later.
3.2: Update the App component
Then we can simply add this to our App component above your list of tasks:
imports/ui/App.vue
<template>
  <div className="container">
    <header>
      <h1>Todo List</h1>
    </header>
    <TaskForm />
    <ul>
      <Task
          v-for="task in tasks"
          v-bind:key="task._id"
          v-bind:task="task"
      />
    </ul>
  </div>
</template>

<script>
import Vue from "vue";
import Task from "./components/Task.vue";
import TaskForm from "./components/TaskForm.vue";
import { TasksCollection } from "../api/TasksCollection";

export default {
  components: {
    Task,
    TaskForm
  },
  data() {
    return {};
  },
  methods: {},
  meteor: {
    tasks() {
      return TasksCollection.find({}).fetch();
    }
  }
};
</script>
3.3: Update the Stylesheet
You also can style it, for now we only need some margin at the top so the form doesn’t seem a little off the mark. Add the CSS class .task-form, this needs to be the same name in your class attribute in the form component.
client/main.css
.new-task {
  margin-top: 1rem;
}
3.4: Add Submit Handler
Now you can attach a submit handler to your form using the handleSubmit method we have prepared earlier.
As you can see, in Vue you handle DOM events by directly referencing a method on the component. Inside the event handler, you can reference elements from the component by giving them a v-model property and adding a field to the data property. Read more about the different kinds of events Vue supports, and how the event system works, in the Vue.js Guide.
imports/ui/TaskForm.vue
..

  methods: {
    handleSubmit(event) {
      TasksCollection.insert({
        text: this.newTask,
        createdAt: new Date() // current time
      });

      // Clear form
      this.newTask = "";
  }
},
..
Also insert a date createdAt in your task document, so you know when each task was created.
Inside the event handler, we are adding a task to the tasks collection by calling TasksCollection.insert(). We can assign any properties to the task object, such as the time created, since we don’t ever have to define a schema for the collection.
Now if we try to add anything to the collection we will get denied. For our prototyping purposes we’ll add the insecure package to get around this for the moment:
meteor add insecure
Being able to insert anything into the database from the client isn’t very secure, but it’s okay for now. In step 8 we’ll learn how we can make our app secure and restrict how data is inserted into the database.
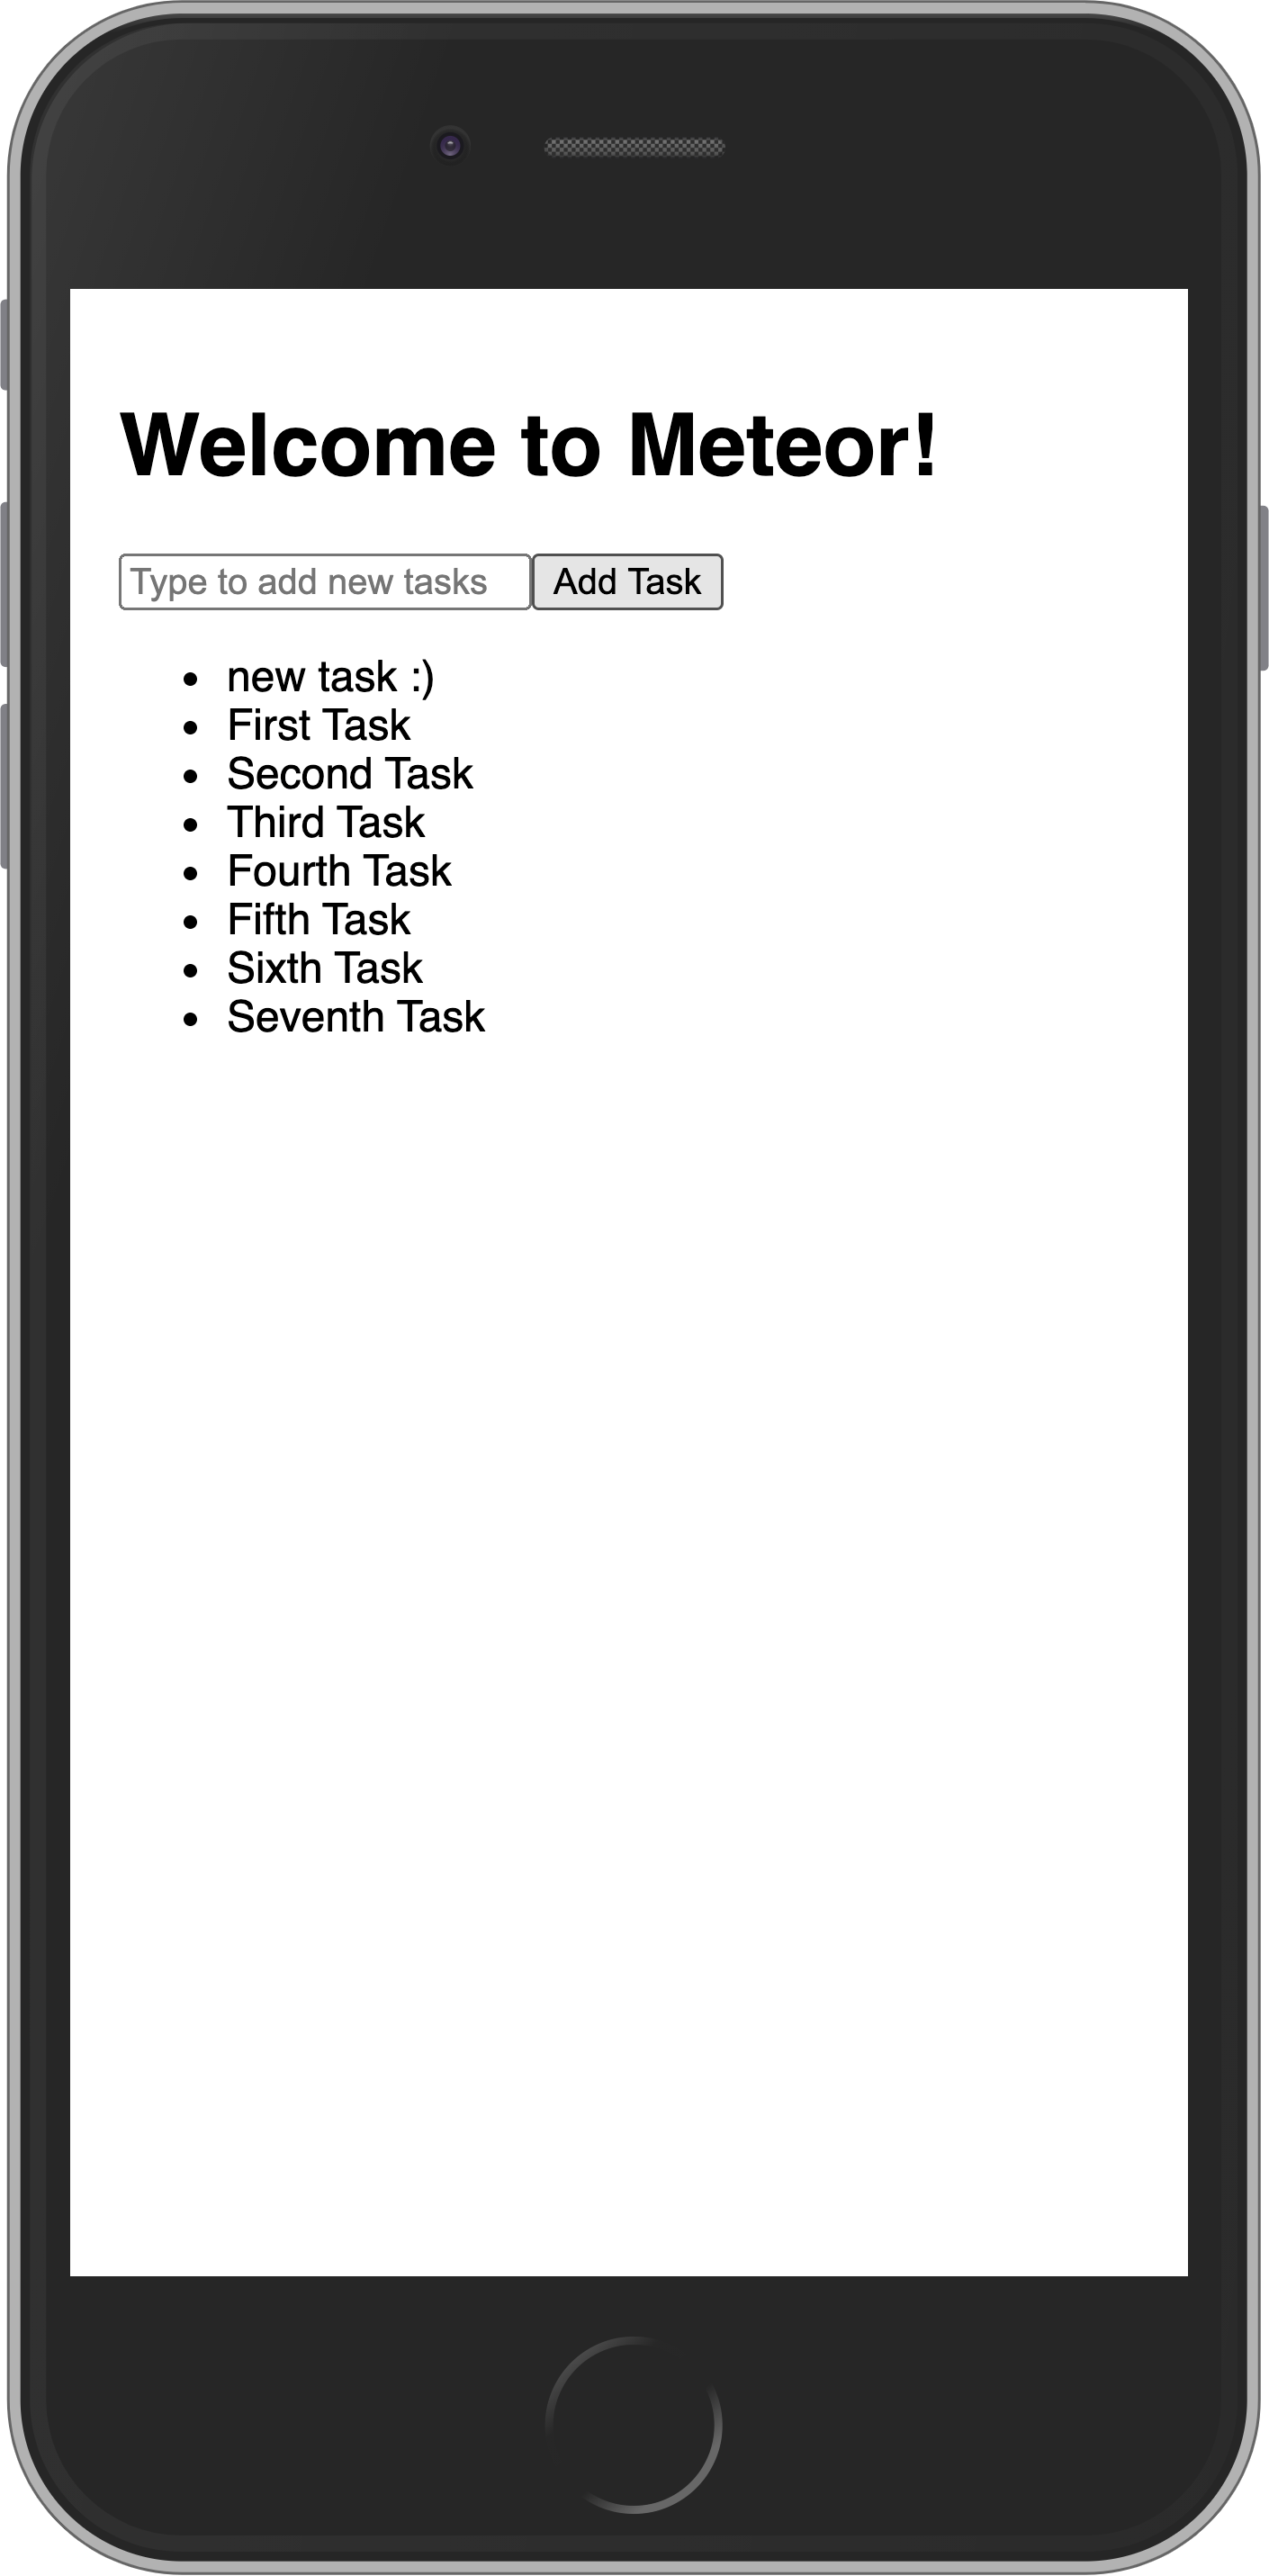
3.5: Show Newest Tasks First
Now you just need to make a change which will make users happy: we need to show the newest tasks first. We can accomplish quite quickly by sorting our Mongo query.
imports/ui/App.vue
..

  meteor: {
    tasks() {
      return TasksCollection.find({}, { sort: { createdAt: -1 } }).fetch();
    }
  }
 ..
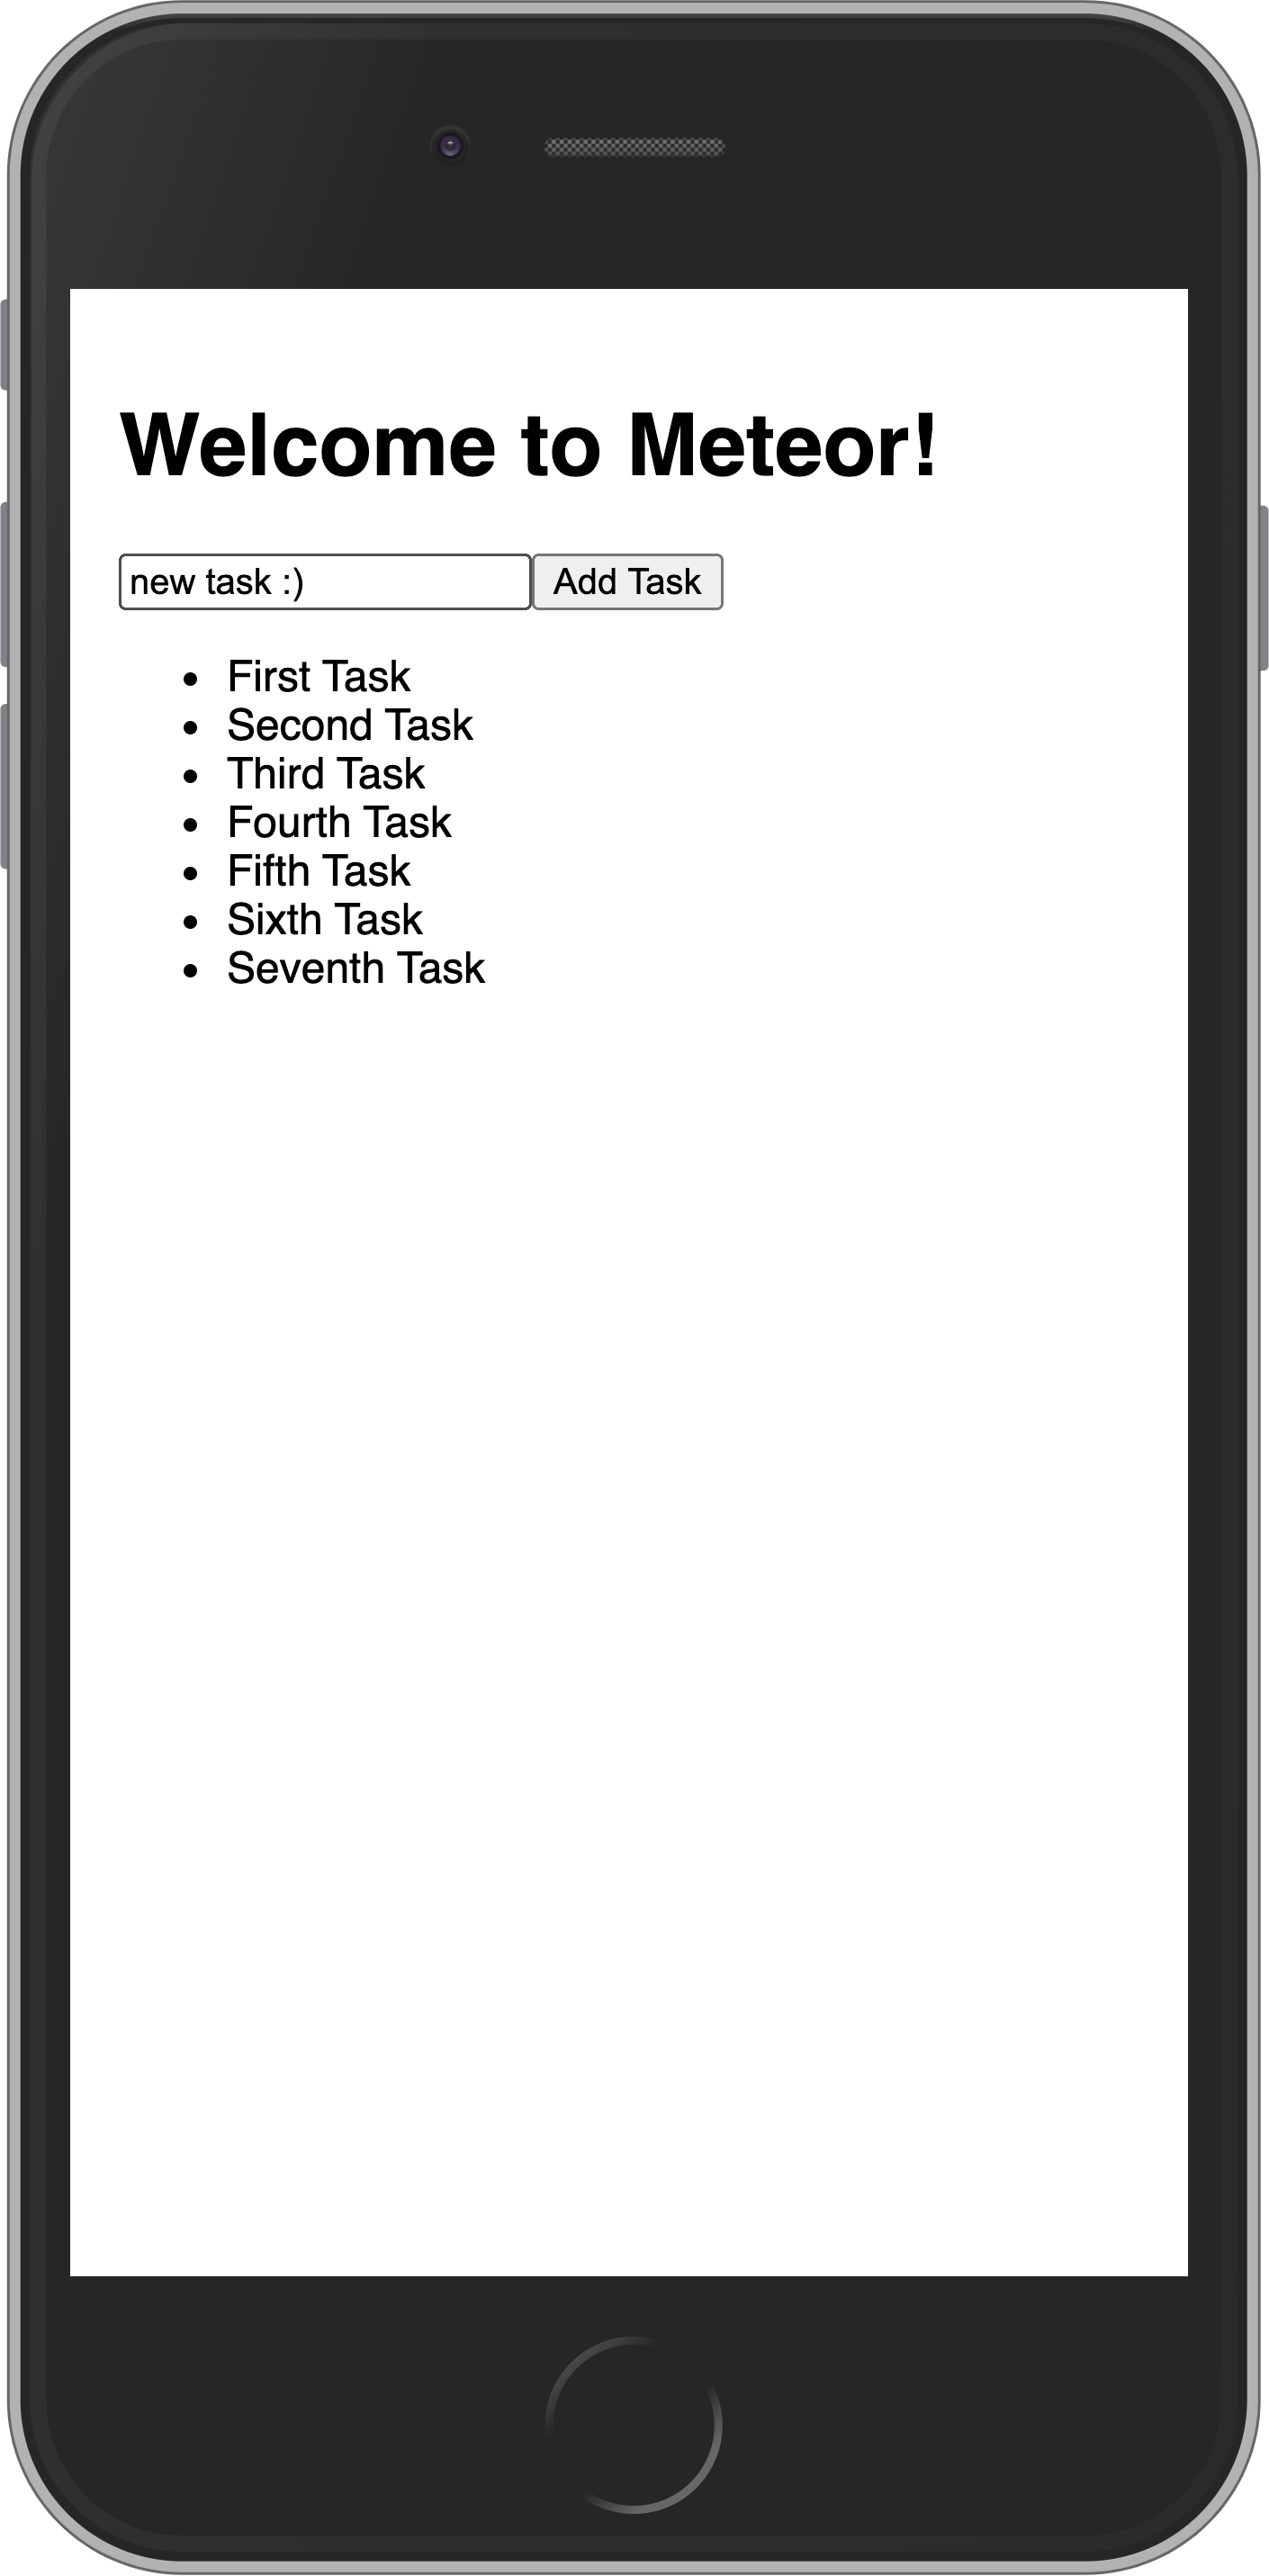
Your app should look like this:
Review: you can check how your code should be in the end of this step here
In the next step we are going to update your tasks state and provide a way for users to remove tasks.